**This blog post does contain affiliate links. When you click on them and make a purchase through their site via the link or extra code our family is given a small bonus at no extra cost to you.
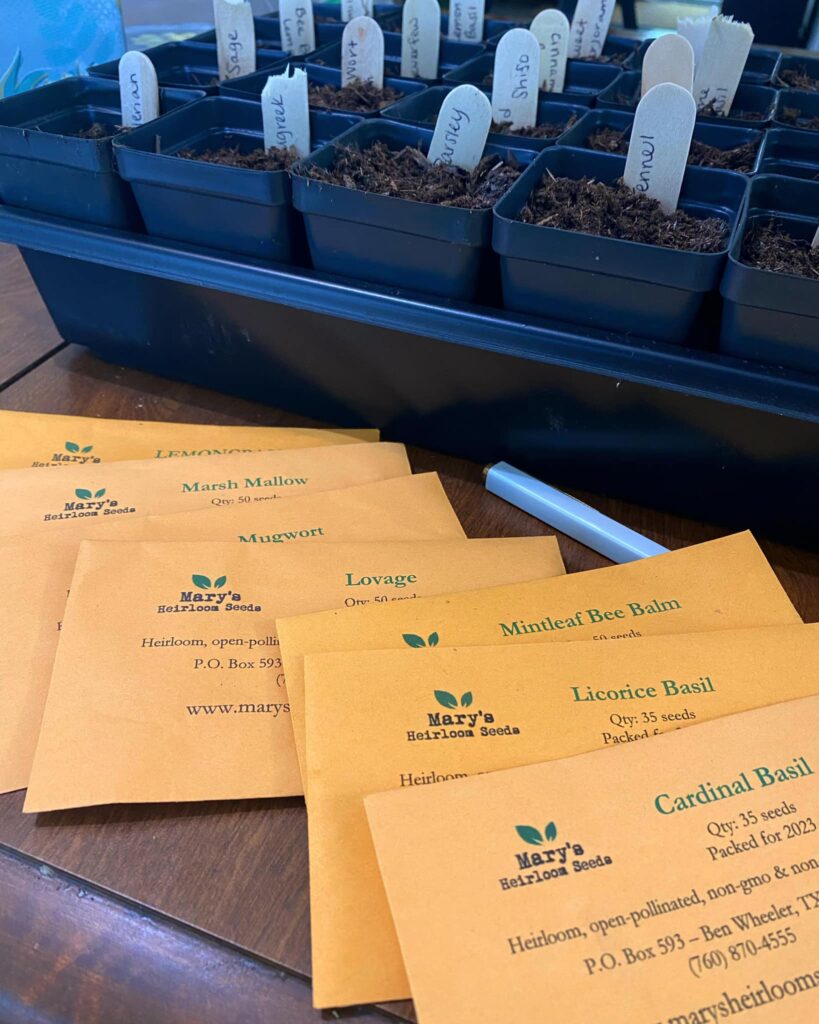
Every January the seed catalog subscriptions being to arrive, and I start dreaming and planning the gardens! I often curl up with a cup of hot coffee and a fuzzy blanket with my pen and catalogs. I start reading and planning. It’s where my imagination soars! I begin drawing and sharing my vision with Dylan since he’s the mastermind builder and muscle of our projects!
Sometimes if you’re a beginner gardener it’s easy to get overwhelmed! Wait… who am I kidding? I STILL get overwhelmed, and I have years of gardening under my belt! My advice is have FUN with it, make mistakes and experiment! It’s where the learning happens!
As you garden, you’ll learn what works best for you and what methods you enjoy. For some they enjoy the simpleness of buying starts from their local greenhouse or hardware stores. While for others, much like myself they like to get their hands dirty and watch their plants grow from the beginning. There’s nothing wrong with either, it’s what works best for you!
When do I Start Gardening?
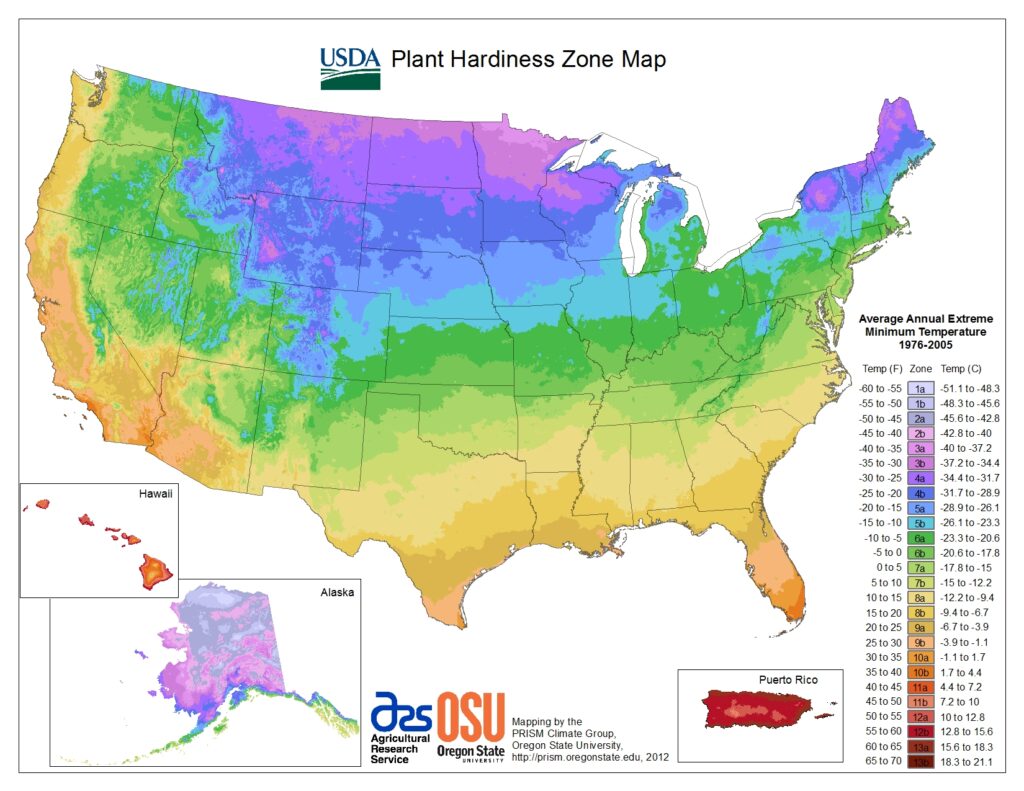
First and foremost, it is essential to choose the correct seeds for your specific location and climate. Your location is broken up into different growing zones. You can find extra information about zone planting on your seed package. It is important to note that some seeds require ample sunlight and space to grow, while others can thrive in smaller containers. Once you have decided on your desired seeds, it’s time to start planting. You need to know when your last frost date is and if you will be direct sowing or starting your little seedlings indoors. If you have a greenhouse this can help you extend your growing season and start plants sooner!
What Gardening Tools You Need!
Beginning gardening can get expensive when you want to grow all the things and look like the fancy gardeners you see online. You can do that OR you can be frugal and reuse things. I’ve seen people reuse their yogurt cups or other similar food storage containers. You just need to make sure to poke some drainage holes at the bottom of your containers.
Some of our favorite gardening products that can be found on our Amazon Storefront!
What Soil Do I Use?
You need to have good seed starting soil if you want your plants to thrive. A mix of peat moss, vermiculite, and perlite is perfect – it’s light, fine, and totally pure. Sterilized soil prevents nasty pathogens from messing with your babies. Seed-starting soil provides all the food and environment your baby plants need to get strong and healthy. Don’t be cheap with this stuff – investing in quality soil will give you a big payoff come harvest time!
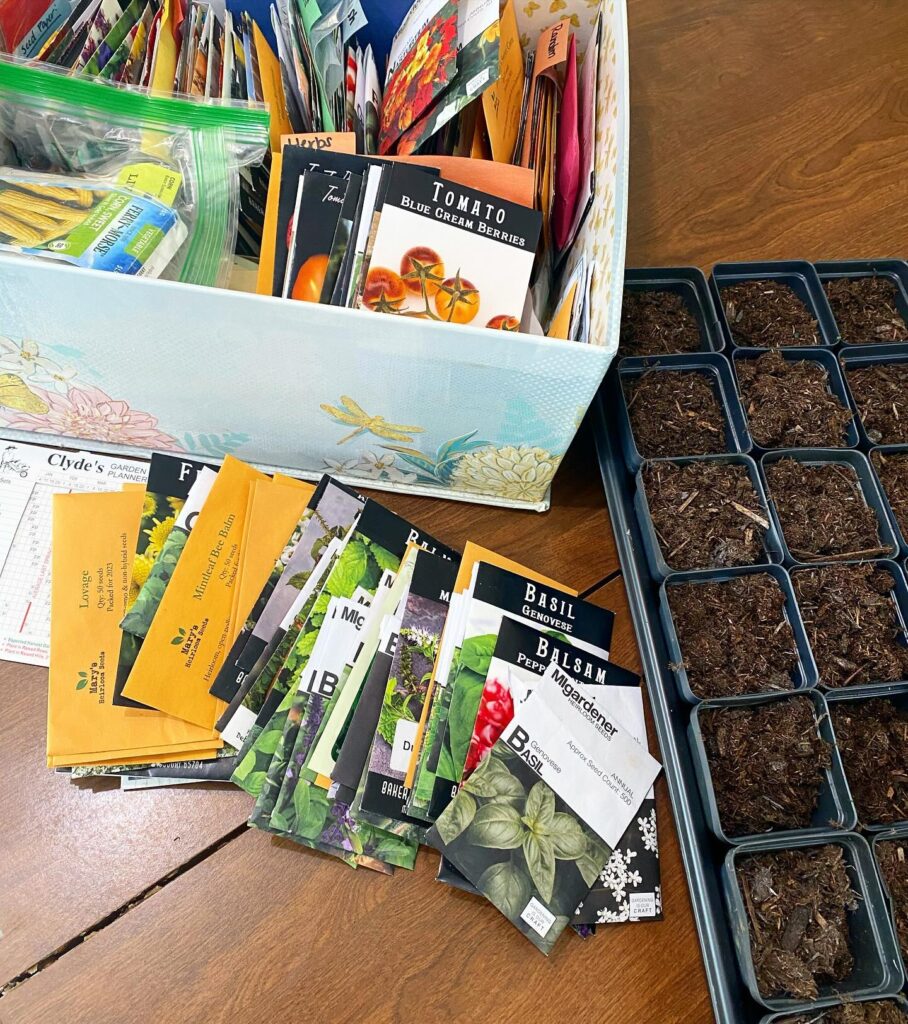
How Do I Plant My Seeds? & How Do I Move Them Outdoors?
When it’s time to sow your seeds, make sure you do your research first to ensure that you’re planting them at the correct depth. If you go too shallow or too deep, your seeds may not grow properly. This information can typically be found on the back of your seed package.
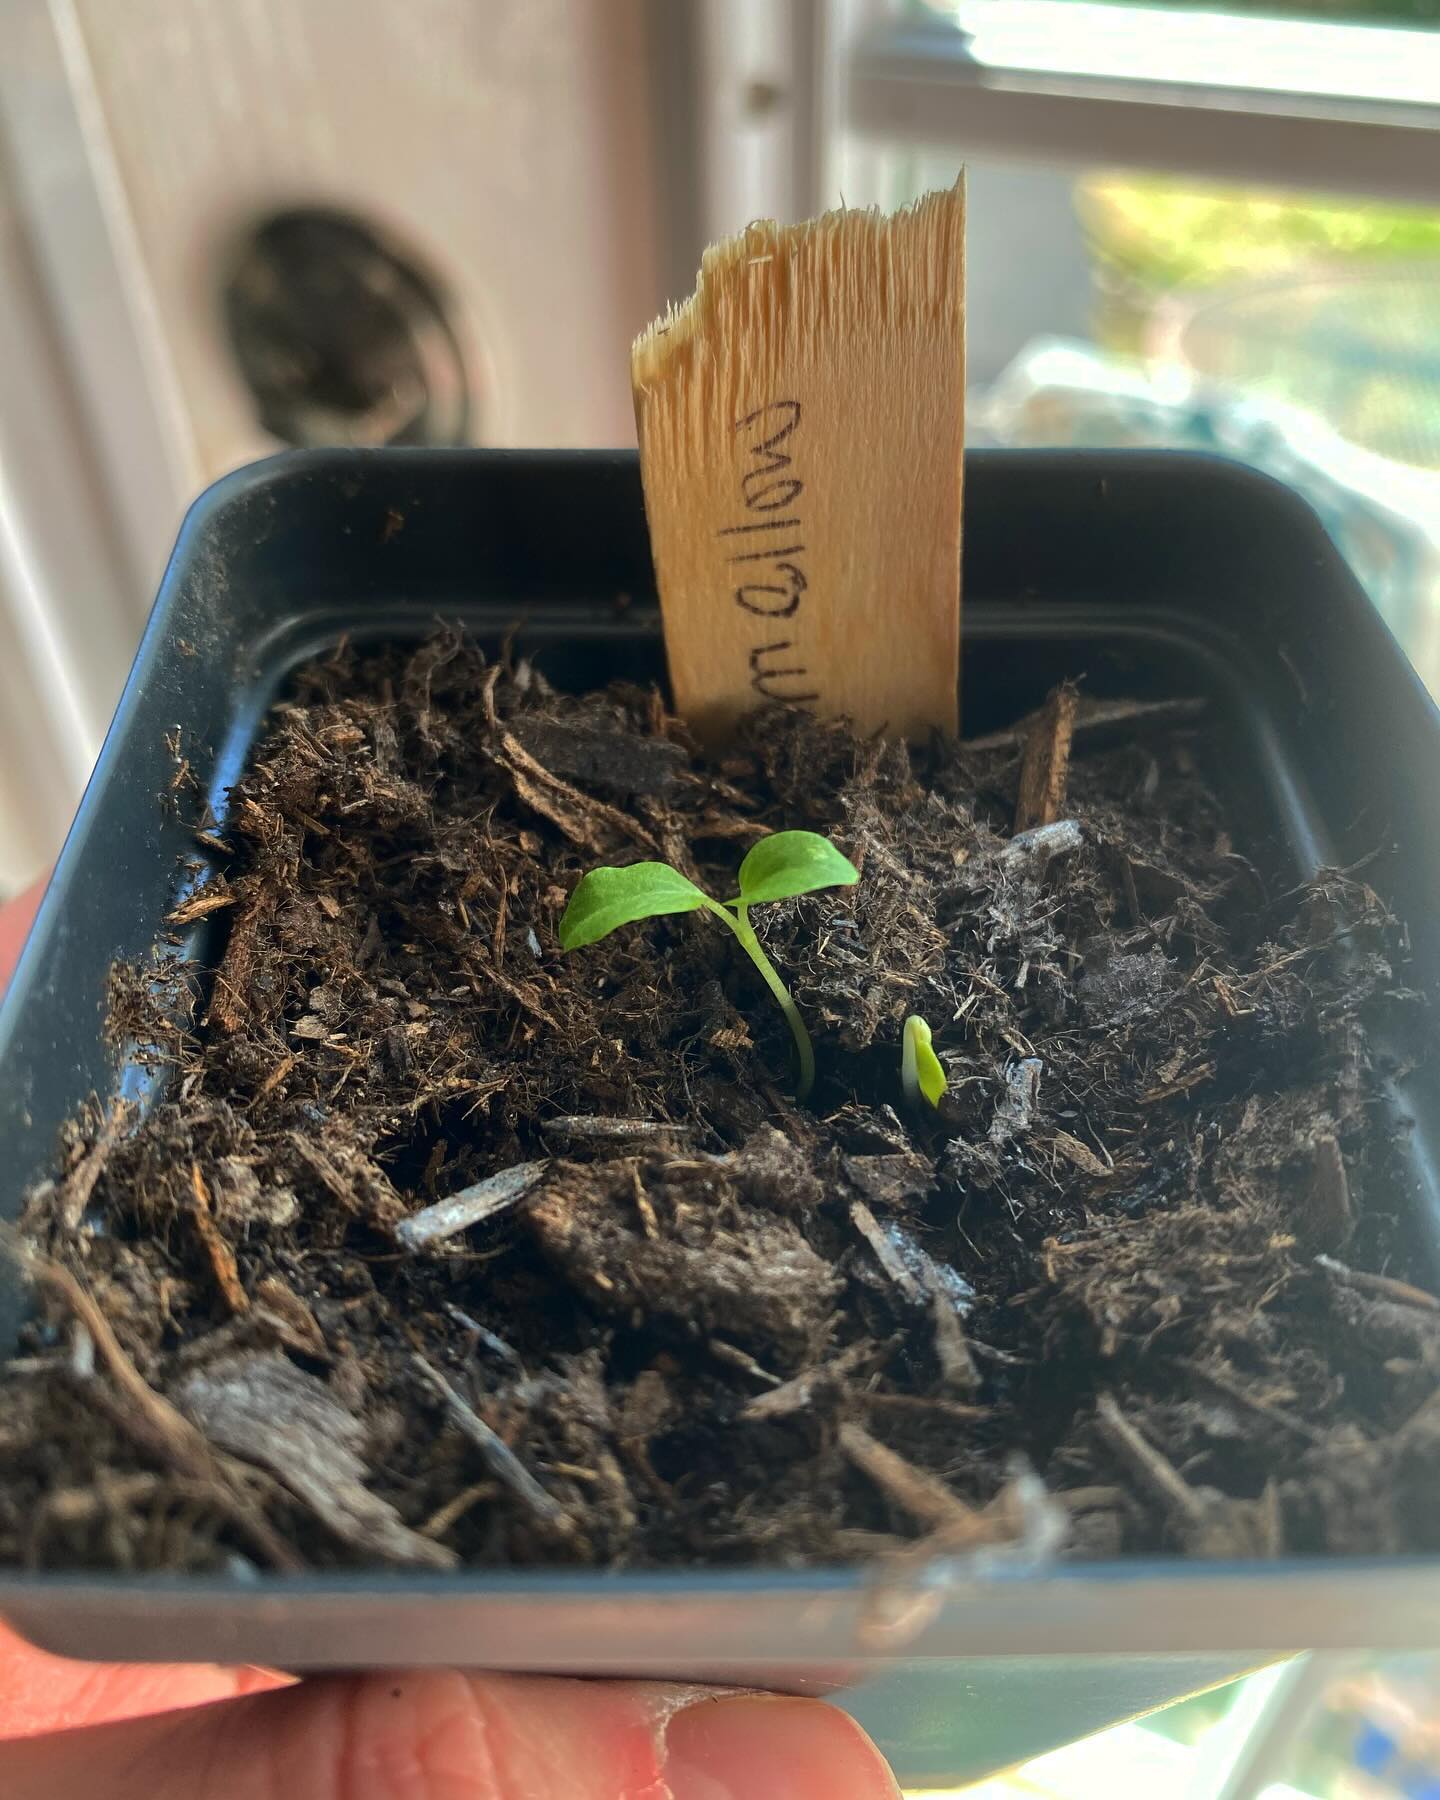
After planting, be sure to water your seeds regularly to keep them moist until they begin to sprout. This may take some time, so be patient and stay consistent with your watering. Also be aware that you’re not overwatering your seedlings.
As your plants begin to grow, make sure to cover them with soil and keep the soil moist. Don’t forget to protect your plants from extreme weather conditions, like frost or heat. I always like to run my hand gently over the plant sprouts to help try and strengthen the stems. You can also add an oscillating fan for airflow and movement.
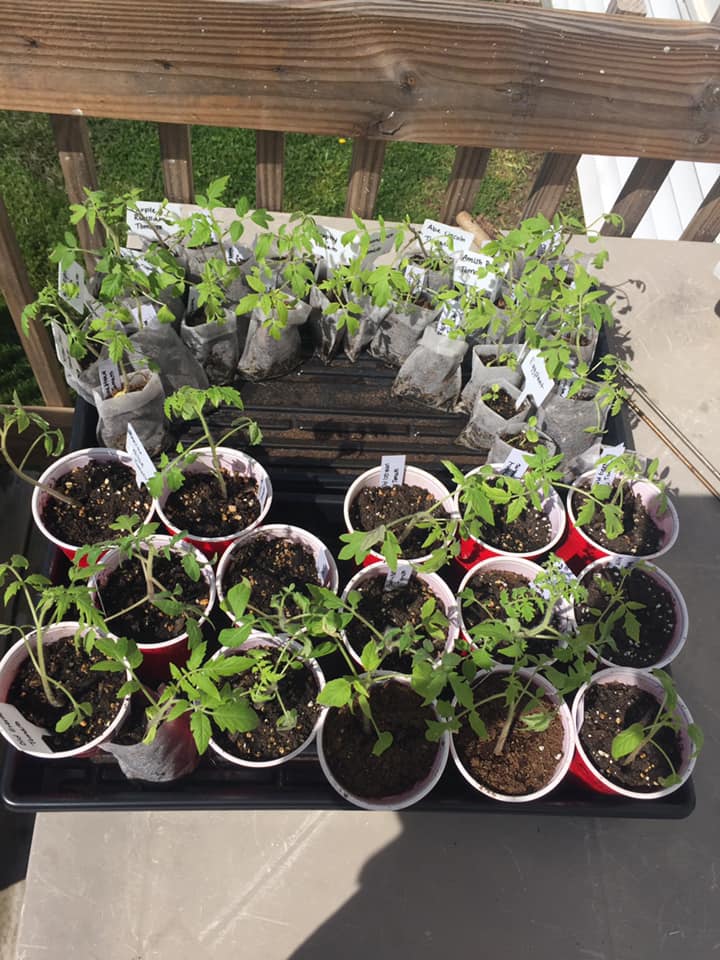
Once you’re ready to plant your starts outdoors you need to ensure that you have hardened them off properly. Gradually adjust your plants to the outdoor elements by exposing them to increasing sunlight and wind each day. This promotes healthy growth and builds their resilience over time. Keep an eye on your plants and make sure they aren’t getting too stressed out. By being patient and helping them adjust, you’re setting them up for success.
“God said, “Let the earth put forth grass, seed-producing plants, and fruit trees, each yielding its own kind of seed-bearing fruit, on the earth”; and that is how it was. The earth brought forth grass, plants each yielding its own kind of seed, and trees each producing its own kind of seed-bearing fruit; and God saw that it was good. So, there was evening, and there was morning, a third day.” – Genesis 1:11-13

Leave a Reply