**This blog post does contain affiliate links. When you click on them and make a purchase through their site via the link or extra code our family is given a small bonus at no extra cost to you. **
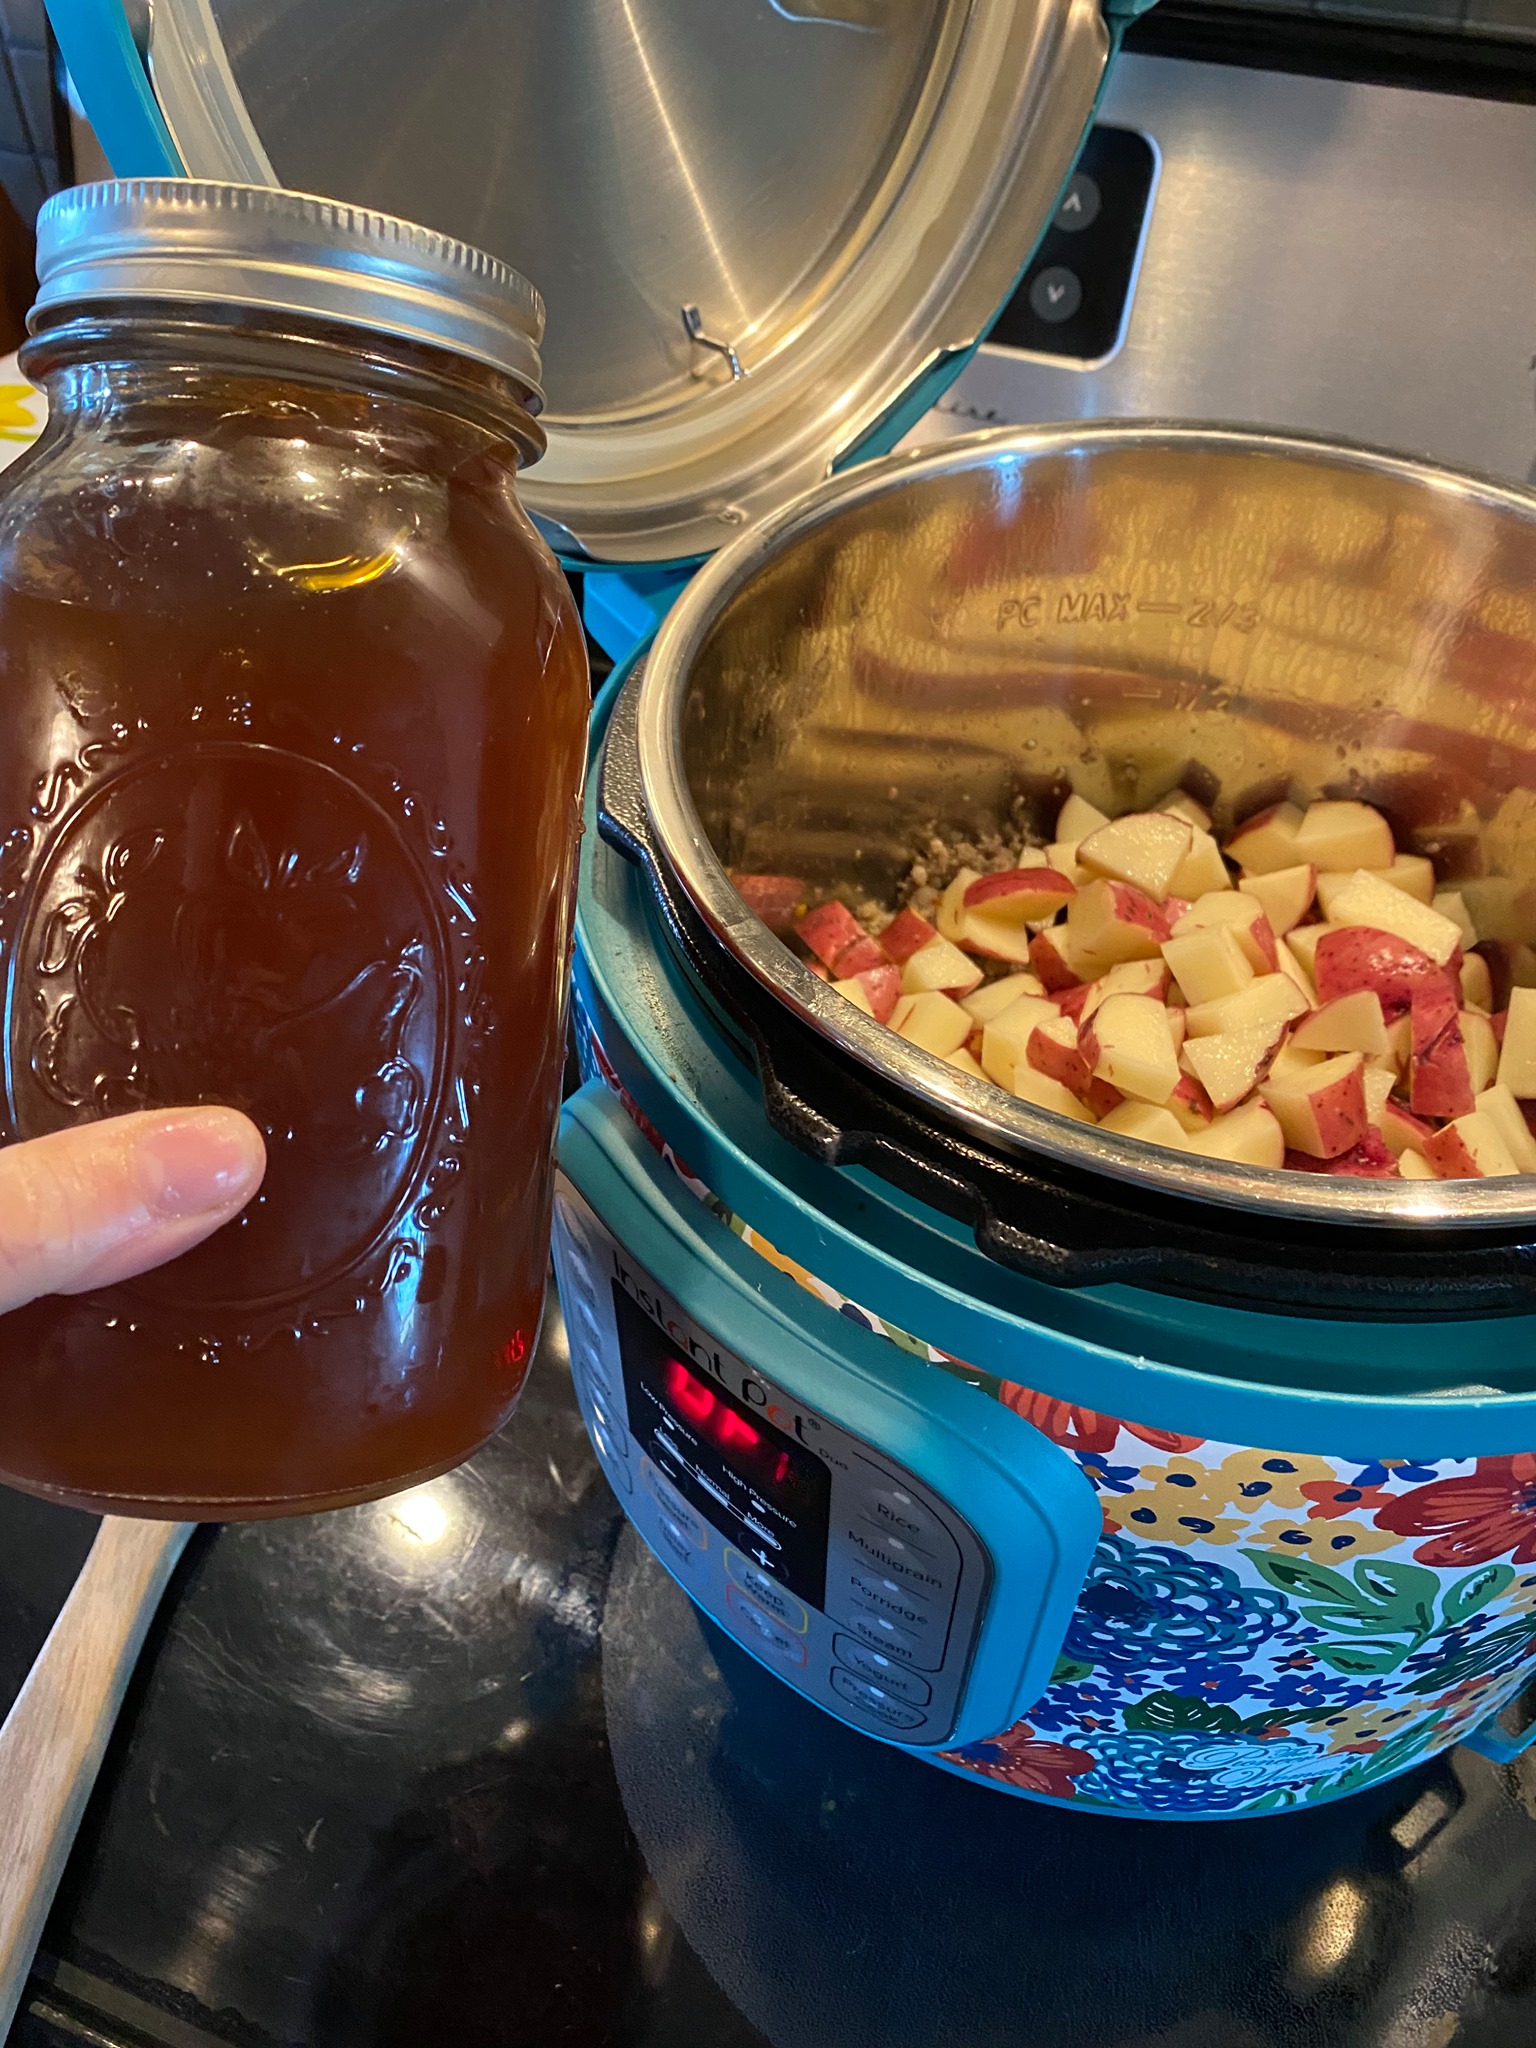
Canning homemade chicken broth is a fantastic way to preserve the nourishing goodness of homemade soup stock while extending its shelf life for months. The rich flavors, savory aromas, and health benefits of chicken broth are well-known, but preserving it through canning offers a long-lasting option for busy individuals or anyone looking to stock up on wholesome ingredients. If you’ve ever wondered about the process of canning chicken broth, its benefits, and how to do it safely, read on!
Why Canning Homemade Chicken Broth Is Worth It
There are several reasons why canning your homemade chicken broth is a smart decision:
Long Shelf Life: One of the primary reasons people turn to canning is the ability to preserve food for long periods. Canned chicken broth can last up to a year (or more, depending on storage conditions), so you can enjoy homemade soup stock without having to make it from scratch every time.
Convenience: Having jars of ready-to-use chicken broth on hand makes cooking quicker and easier. Whether you’re making soups, stews, gravies, or risottos, your broth is just a jar away. You no longer have to keep store-bought cans in your pantry when you have your own homemade version readily available.
Control Over Ingredients: By making and canning your own chicken broth, you know exactly what goes into it. You can avoid preservatives, artificial flavors, and sodium often found in commercial broths, which is especially beneficial for those with dietary restrictions.
Nutritional Benefits: Homemade chicken broth is rich in nutrients like collagen, amino acids, and minerals that are great for joint, skin, and gut health. The process of simmering chicken bones over several hours helps to extract these nutrients, making homemade broth a true wellness tonic.
Waste Reduction: Canning allows you to use up leftover chicken bones and carcasses from a roast, making it an eco-friendly choice. You can make a batch of chicken broth with scraps that would otherwise go to waste, reducing food waste in your home.
How to Make Chicken Broth for Canning
Making chicken broth for canning is an easy and rewarding way to stock your pantry with a rich, nutritious base for soups, stews, and sauces. In this Canuary edition, we’re focusing on using your extra chicken scraps or even leftovers from your holiday meals to create a wholesome broth that’s perfect for the new year. Here’s how to make chicken broth that’s ready for canning, with a few simple steps.
How to Can Homemade Chicken Broth: Step-by-Step Guidelines
Once your broth is ready, it’s time to preserve it. Proper canning methods are essential to ensure the safety and shelf stability of your broth. The process involves using a pressure canner, as broth is a low-acid food and requires high heat to kill any potential bacteria or pathogens.
Supplies Needed:
- Pressure canner (not a water bath canner)
- Clean, sterilized mason jars (quart or pint-sized)
- Lids and bands
- Ladle and funnel
- Jar tongs
Canning Instructions:
Prepare Your Pressure Canner: Follow the manufacturer’s instructions for your pressure canner. Fill it with the necessary amount of water (usually around 2-3 inches) and place it on the stove to heat.
Prepare Jars: Wash your jars, lids, and bands in hot soapy water and dry them thoroughly. You can also sterilize the jars by running them through the dishwasher.
Fill Jars with Broth: Use a ladle and funnel to fill your hot jars with the warm chicken broth, leaving about 1-inch headspace at the top of the jar. This space allows room for the broth to expand during the canning process.
Remove Air Bubbles: Gently tap the jars or use a non-metallic spatula to remove any air bubbles trapped inside. This step ensures that the broth is properly sealed.
Wipe Jar Rims: Use a clean, damp cloth to wipe the rims of the jars to remove any residue or broth. A clean rim is essential for creating a proper seal.
Seal and Process: Place the lids on the jars and tighten the bands until they are just finger-tight. Don’t overtighten. Place the jars in the pressure canner and close the lid. Process the jars at 10-15 pounds of pressure for 20 minutes for pint jars or 25 minutes for quart jars (depending on your altitude and pressure canner specifications).
Cool and Store: Once the processing time is complete, allow the pressure canner to cool down naturally before removing the jars. Carefully remove the jars with jar tongs and let them sit undisturbed on a clean towel or cooling rack. You should hear a “pop” as the lids seal. Once the jars are completely cool, check the seals. If the lid is concave and doesn’t pop when pressed, it’s sealed properly. Store sealed jars in a cool, dark, dry place.
Safety Guidelines for Canning Chicken Broth
Use a Pressure Canner: Always use a pressure canner for canning low-acid foods like chicken broth. A water bath canner will not get hot enough to kill harmful bacteria.
Follow Recipe Recommendations: Follow tested and trusted recipes from reliable sources like the USDA or university extension programs for best results.
Proper Jar Sealing: Always check that jars are sealed before storing them long-term. If any jars don’t seal properly, refrigerate and use them within a few days.
Storage Conditions: Store canned broth in a cool, dark, and dry place, away from sunlight and heat sources. The ideal storage temperature is between 50-70°F.
Shelf Life: Canned chicken broth will last for up to one year, but it’s always best to consume it within 6-8 months for optimal flavor.
Benefits of Homemade Canned Chicken Broth
Here on the homestead we use our home raised poultry for our bone broths. Home-raised chickens are typically fed more natural diets, resulting in a richer, more nutrient-dense broth that’s higher in omega-3 fatty acids, collagen, and minerals like calcium and magnesium. This broth is free from antibiotics, hormones, and preservatives commonly found in store-bought alternatives. The flavor of broth made from home-raised chickens is also superior, offering a deeper, more robust taste due to the healthier and more varied diet of the birds.
Beyond convenience, there are many nutritional benefits of homemade chicken broth that make it a fantastic addition to your pantry:
- Supports Digestive Health: The gelatin and collagen in chicken broth promote gut health by soothing the digestive tract and supporting the healing of leaky gut.
- Promotes Joint Health: The collagen in chicken bones helps improve joint flexibility and reduces inflammation.
- Boosts Immunity: Chicken broth is rich in amino acids, which may support immune function, especially during cold and flu season.
- Hydrates the Body: Since broth is mostly water, it can help keep you hydrated, especially when consumed as part of soups or stews.


Canning homemade chicken broth is a rewarding process that brings numerous benefits, from extended shelf life to superior flavor and health benefits. By following proper canning guidelines and taking the time to prepare your broth correctly, you can create a pantry full of homemade, wholesome chicken broth ready to use whenever you need it. It’s not just about saving time—it’s about enjoying a nourishing, homemade product that will bring warmth and health to your meals for months to come. Happy canning!

“God said, “Let the water swarm with swarms of living creatures, and let birds fly above the earth in the open dome of the sky.” God created the great sea creatures and every living thing that creeps, so that the water swarmed with all kinds of them, and there was every kind of winged bird; and God saw that it was good. Then God blessed them, saying, “Be fruitful, multiply and fill the water of the seas, and let birds multiply on the earth.”
– Genesis 1:20-22
Leave a Reply